Table of Contents
Running the Autoware.Auto 3D perception stack
First, ensure that ADE is running and that everything is up to date. Open a terminal and type: $ ade start --update.
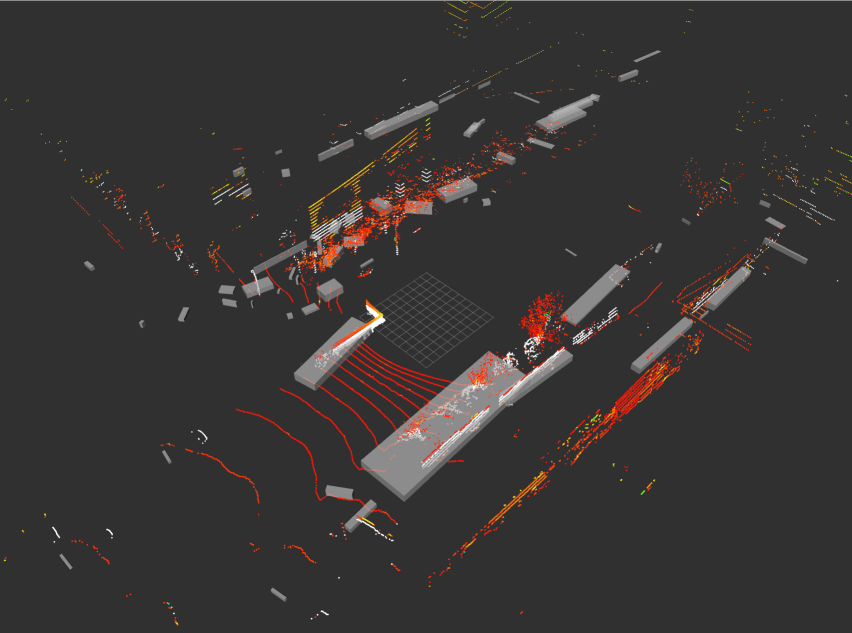
The Autoware.Auto 3D perception stack consists of a set of nodes necessary to compute and publish object bounding boxes. The minimal stack for doing so is:
- point_cloud_filter_transform_node: Transforms output of the
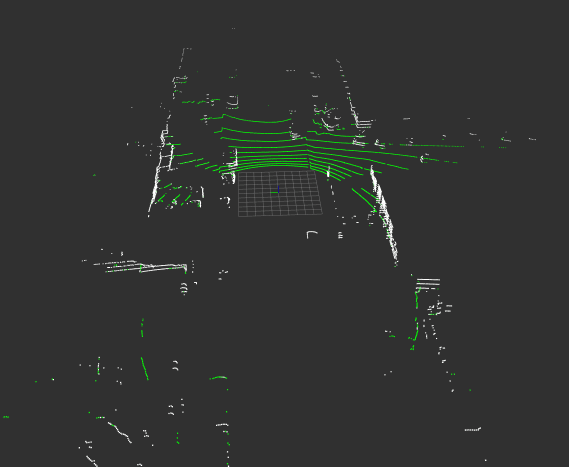
velodyne_nodeto a common frame. - ray_ground_classifier_node: Classifies point cloud points to indicate whether they belong to a ground or non-ground surface.
- euclidean_cluster_node: Clusters the non-ground points into object detections.
There are also optional nodes, not covered in this tutorial, that can be used to augment the stack:
- point_cloud_fusion: Fuses point clouds from multiple sources into a single message. This is used currently to fuse the front and rear lidar data into a single message stream. This tutorial only uses the front lidar data.
- voxel_grid_nodes: This can be used to downsample point cloud data through a voxel grid representation. This tutorial does not perform downsampling.
To aid becoming familiar with the elements of the perception stack, the following subsections describe how to bring up the stack node by node without using the launch file. Follow the directions in sequence.
Prerequisites
In order to run the perception stack, we need to open a visualizer, publish sensor data, and publish the "robot state," which is the transform tree describing the sensors positions with respect to the vehicle. The following subsections describe how to do this.
Running the rviz2 visualizer
rviz2 can be used to visualize perception data as it is published. To start the visualizer, open a new terminal, then:
The rviz config has displays for all topics in this tutorial. As nodes are launched, they will be displayed in rviz. The checkboxes next to topic names can be checked and unchecked to toggle which perception outputs are visualized.
Publishing sensor data
In order to bring up the perception stack, point cloud data needs to be published to the /lidar_front/points_raw topic. Several methods for doing this are given below.
- Replaying recorded sensor data. To do this:
- Download the PCAP file Dual VLP-16 Hi-Res pcap file.
- Move the downloaded file into your
adehomefolder. - Replay the file using
udpreplay:$ ade enterade$ udpreplay -r -1 route_small_loop_rw.pcap - Launch the velodyne_node for the front lidar:
- Launch the velodyne_node for the rear lidar:
- Running a simulator: To do this, see Running the LGSVL Simulator along side Autoware.Auto
- Connecting to the sensor: To do this, update the IP address and port arguments in the param file for the velodyne_node and then launch the node:
- Note
- At this point, there exists a convenience launch file that can bring up the robot_state_publisher along with the rest of the perception stack using a single command. You can either use the below launch file to bring up the stack, or continue on with the tutorial:
- When using PCAP data: $ ade enterade$ source /opt/AutowareAuto/setup.bashade$ ros2 launch autoware_demos lidar_bounding_boxes_pcap.launch.py
- When using the LGSVL simulator: $ ade enterade$ source /opt/AutowareAuto/setup.bashade$ ros2 launch autoware_demos lidar_bounding_boxes_lgsvl.launch.py
Publishing the robot state
This node publishes the transform tree of the vehicle available. To do this:
- When using PCAP data: $ ade enterade$ ros2 run robot_state_publisher robot_state_publisher /opt/AutowareAuto/share/lexus_rx_450h_description/urdf/lexus_rx_450h_pcap.urdf
- When using the LGSVL simulator: $ ade enterade$ ros2 run robot_state_publisher robot_state_publisher /opt/AutowareAuto/share/lexus_rx_450h_description/urdf/lexus_rx_450h.urdf
Bringing up the perception stack
Now that the prerequisites have been brought up, the perception stack can be launched.
Run the point cloud filter transform node
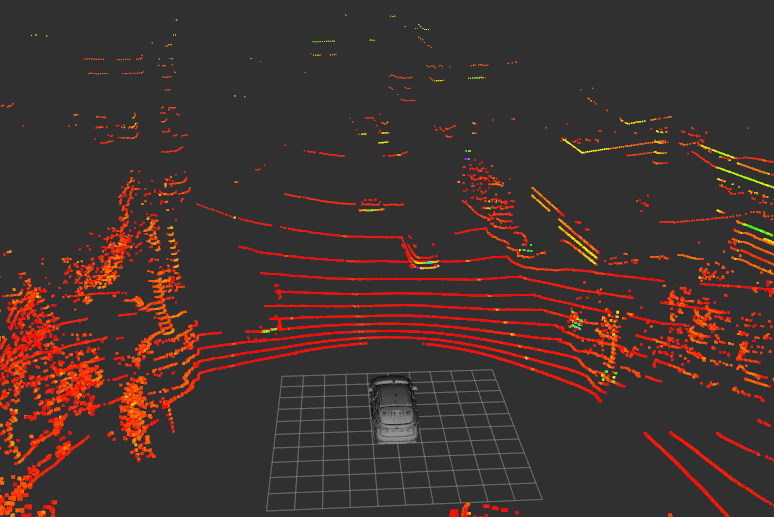
This node transforms point clouds from the velodyne_node to a common frame. In a new terminal, do:
Run the ray ground classifier node
This node classifies point cloud points according to whether they are ground or non-ground. In a new terminal, do:
Run the Euclidean cluster node
This node clusters non-ground points into objects and publishes bounding boxes. In a new terminal, do: