Table of Contents
Any IDE or text editor can be used to develop Autoware.Auto. Here, the configuration directives for some can be found.
CLion
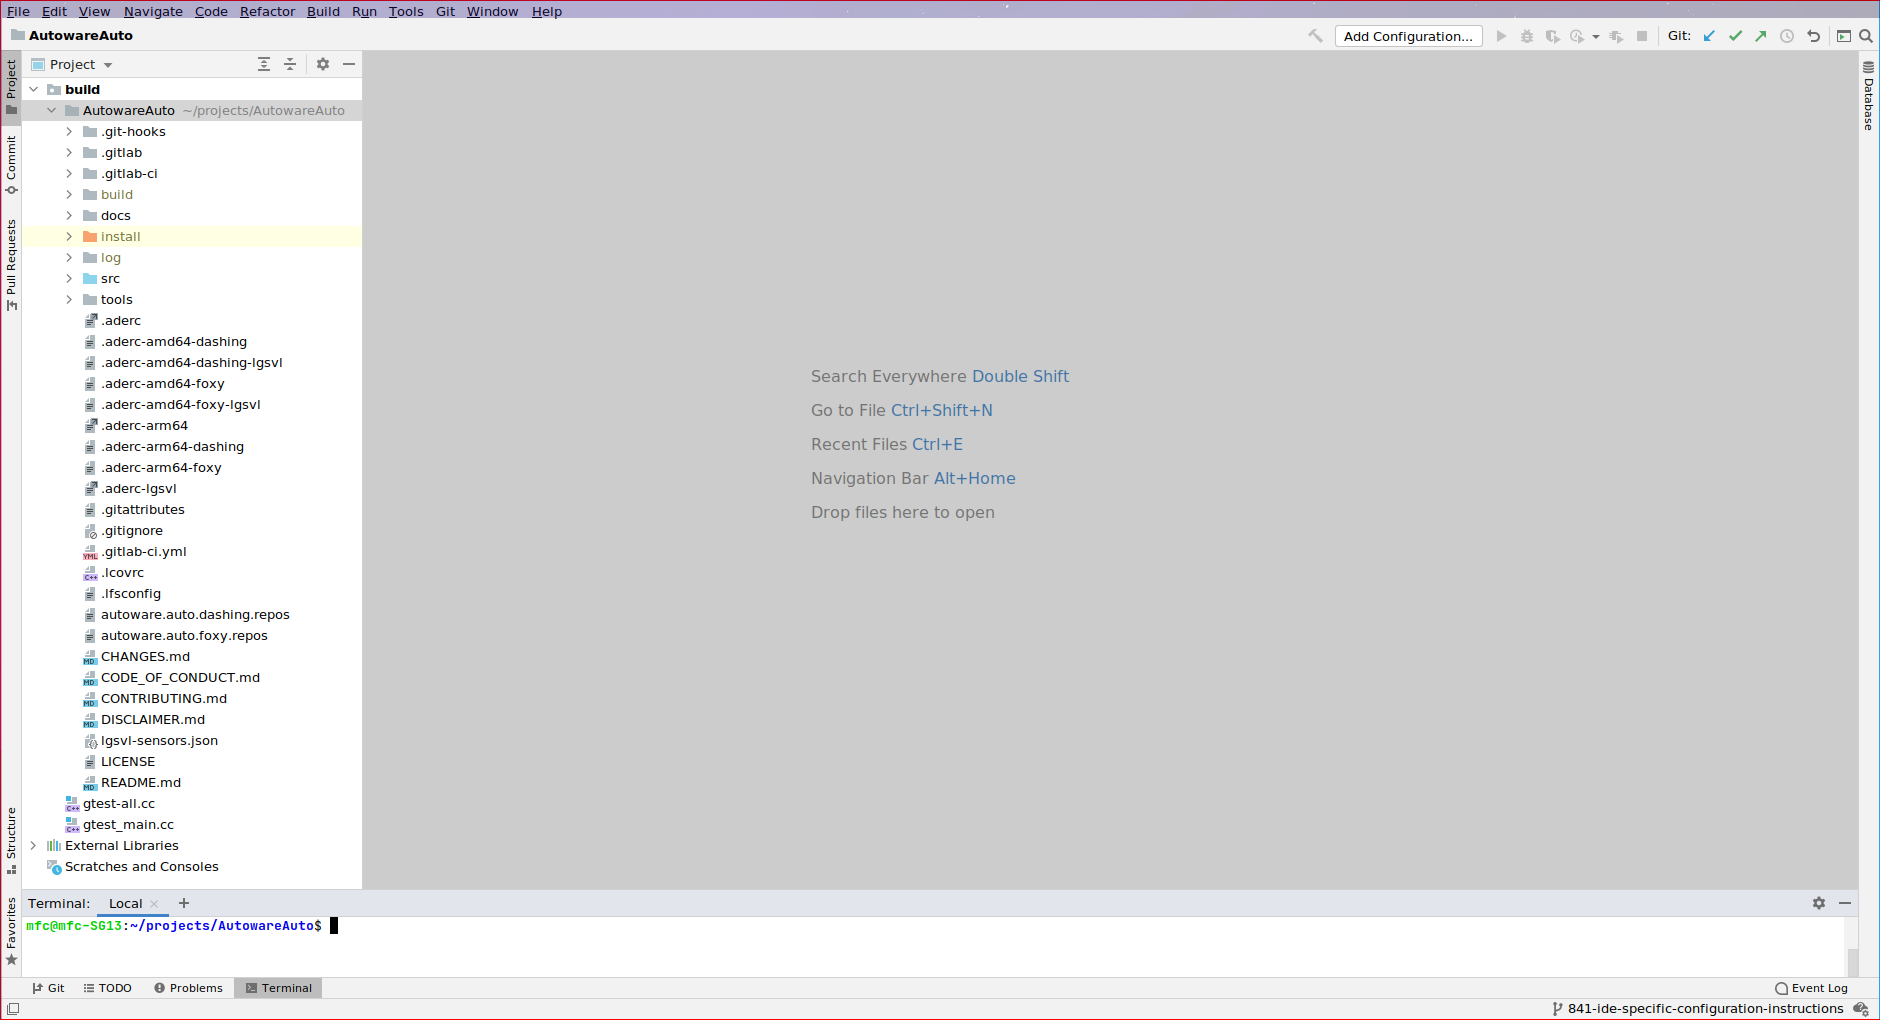
Here, Autoware.Auto was installed without ADE in the "~/projects/AutowareAuto" path.
The key functionality that will make CLion able to index is the use of a Compilation Database.
Launching CLion
You can use the default desktop launcher of the CLion to launch it. Unlike ROS1 CLion configuration, it doesn't need to be run from a terminal where ROS was sourced.
Building
Terminal within CLion can be used to build the Autoware.Auto.
Building Section has the fundamental information that will be useful in here.
Building with compilation database should be followed to generate the Compilation Database.
In order to be able to debug the code with CLion, the code should be compiled with either Debug or RelWithDebInfo flags. RelWithDebInfo flag can be used most of the time without problems.
Also some bash aliases can be set in the ~/.bash_aliases file to simplify the building process.
Opening up the project in CLion
Once Autoware.Auto is compiled with the commands above, it can be loaded into CLion.
Navigate to File | Open in the main menu, then choose compile_commands.json (it will be located in AutowareAuto/build/ folder) file and click Open as Project.
By default, the project root is set to the directory containing the compilation database file which, in our case, is the AutowareAuto/build/ folder.
Change the project root
To change the project root, select Tools | Compilation Database | Change Project Root from the main menu, and select the AutowareAuto directory from there.
Now CLion's code insight, refactoring, analysis, and navigation are fully available for the project.
To finish things up,
- Project Pane -> right click
installfolder and selectMark Directory as -> Excluded - Project Pane -> right click
srcfolder and selectMark Directory as -> Project Sources and Headers
And it should look like this:
Running and debugging the nodes
Now anything that can be run with ros2 run package_name executable_name <param1> <param2>... can be debugged.
The nodes that are run with ros2 launch command cannot be debugged with following method although it should be fairly simple to have Clion Attach to a Process.
Example for running the "point_cloud_filter_transform_nodes" from the perception/filters in ROS2 Foxy:**
Normally this node can be run with following commands:
There are some Path Variables in CLion that make it easy to shorten some paths in certain places.
Here $ContentRoot$ will be used to point to the project root which is ~/projects/AutowareAuto.
In order for $ContentRoot$ to work, make sure the project root is changed to AutowareAuto folder.
And either:
- A file in the Project pane that belongs to the project must be selected.
- A file that belongs to the project must be opened and active.
When actively working on a project, these conditions will mostly be satisfied without an extra effort.
To be able to run and/or debug this file with CLion, do the following:
- Call Run | Edit Configurations from the menu or Click
Add Configuration...from top right near build buttons. - Click on the plus button on top-left and pick
Custom Build Application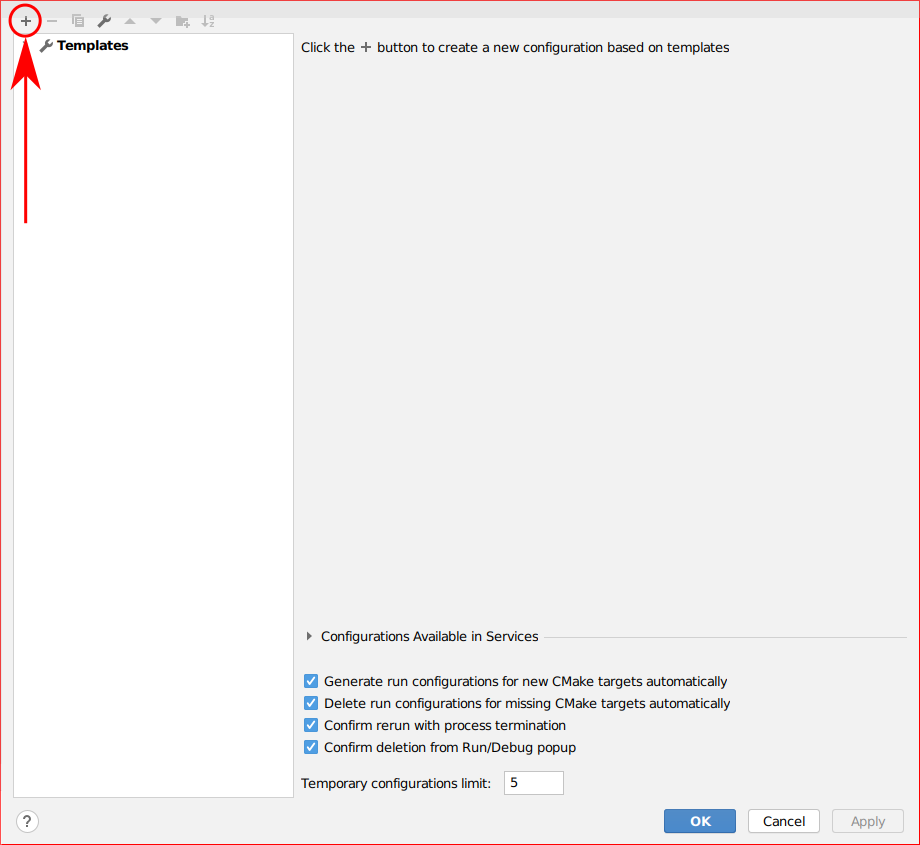 Empty Custom Build Configuration
 - In the
Before Launchlist, press the minus button to remove theBuildfrom the list.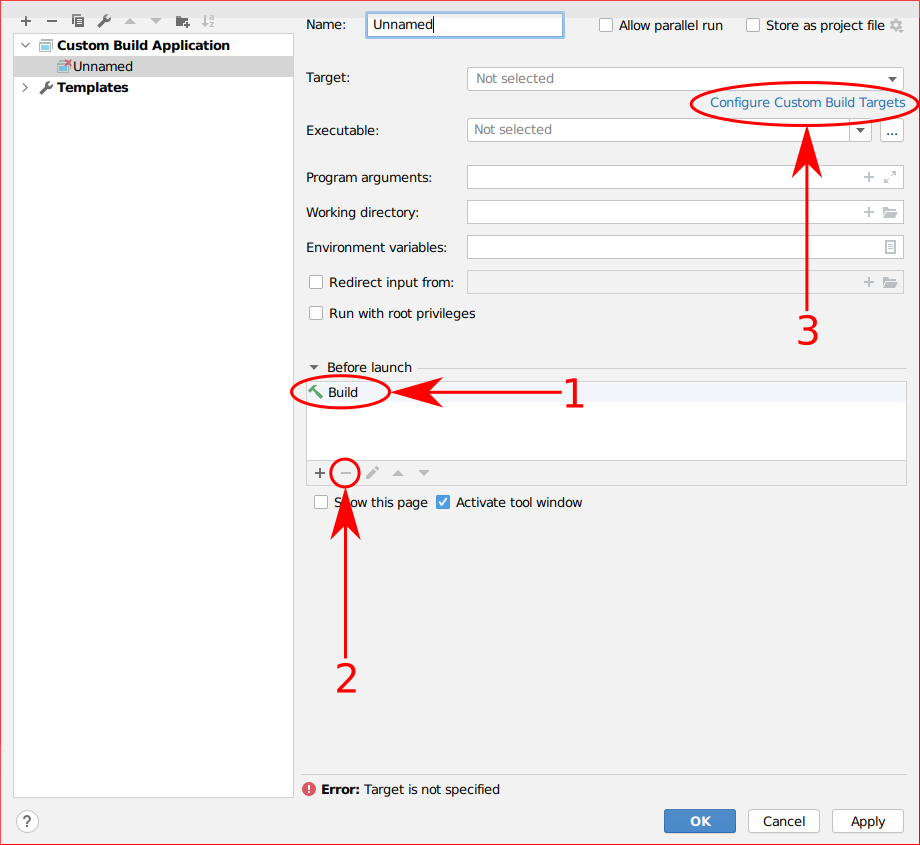 Custom Build Application
 - Click
Configure Custom Build Targets Click the plus button from top-left to add a custom build target.
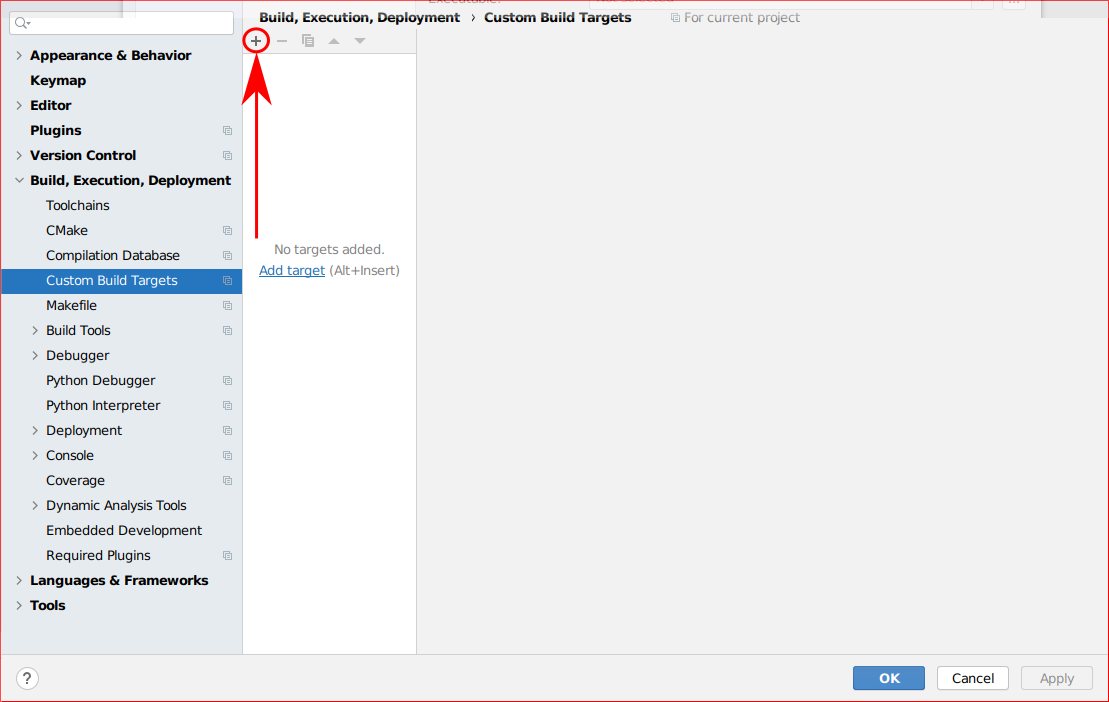 Custom Build Targets
Leave the rest as they are, as this is a dummy target. And click OK.
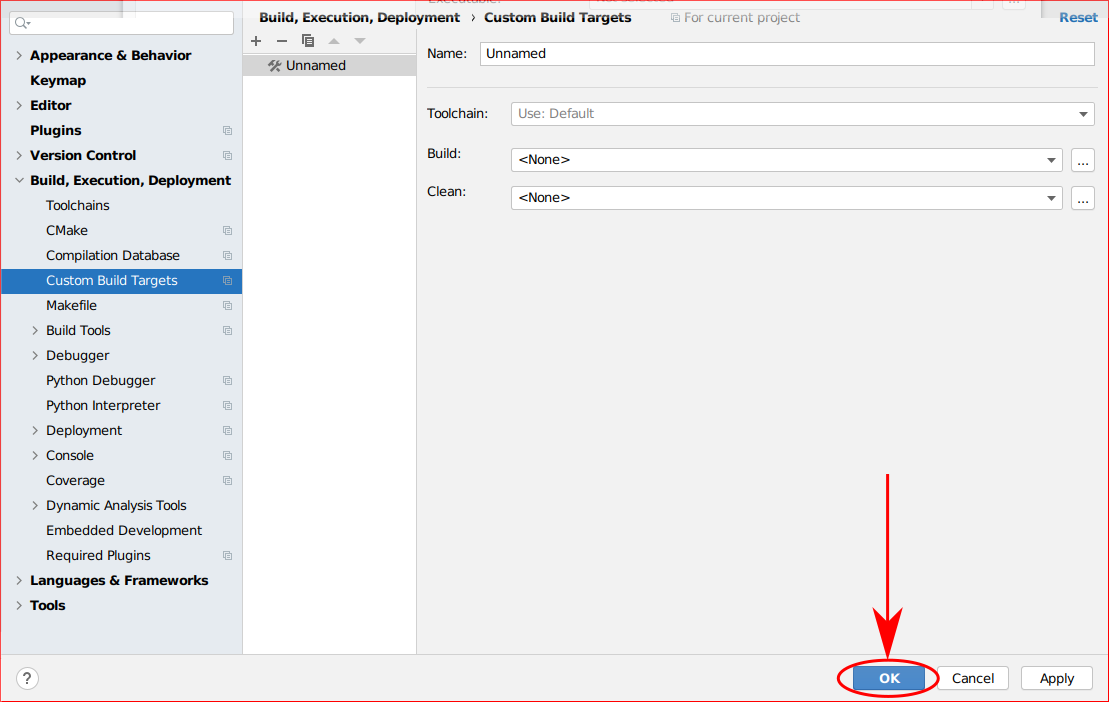 Custom Build Targets Done
- In the
Custom Build Applicationscreen select theCustom Build TargetforTarget:that you have generated. - Executable:
/home/mfc/projects/AutowareAuto/install/point_cloud_filter_transform_nodes/lib/point_cloud_filter_transform_nodes/point_cloud_filter_transform_node_exe(Absolute path is required here) - Program Arguments:
--ros-args -r __ns:=/lidar_front --params-file $ContentRoot$/src/perception/filters/point_cloud_filter_transform_nodes/param/vlp16_sim_lexus_filter_transform.param.yaml -r __node:=filter_transform_vlp16_front -r points_in:=/lidar_front/points_raw - (optional) Working Directory:
$ContentRoot$/install/ - Environment Variables:
source /home/mfc/projects/AutowareAuto/install/setup.bash(Absolute path is required here)
In the end it should look like this:
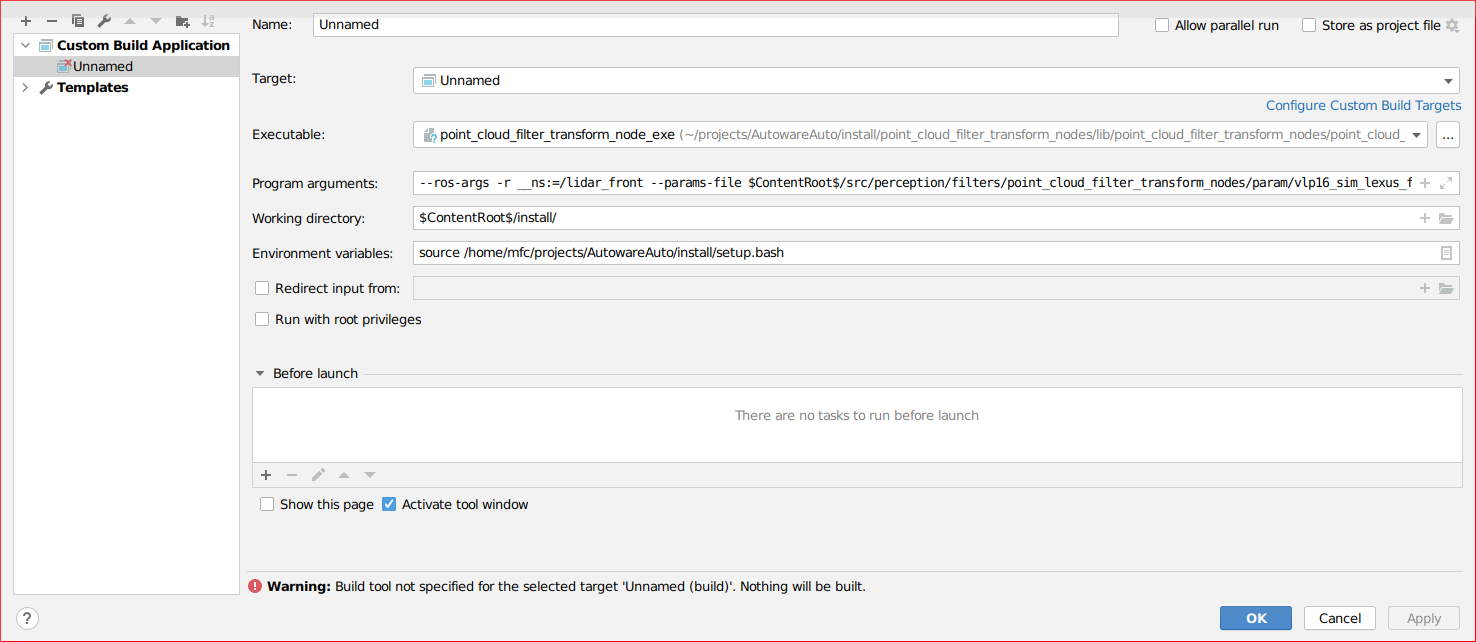
After clicking OK, it should now be possible to click the Triangle or the Bug button to run or debug the application :)
Configuring for other nodes
The Executable and Program Arguments can be modified to make it work with any other node.